I can't seem to get any of the front or back positions to work for whatever reason - whenever I try using one the sprite I put in that position doesn't appear ingame. The medium depth ones do work though, so I don't know what's up with that. Using renpy ver 8.2.3^Test with back_center_offleft
^Test with center_offleft
Help would be appreciated, I have no clue why this is happening
I'm still learning renpy and whatnot, so I'm not sure how to actually get the sprites to move to the stage spots. i did put the files in like told, but i'm not understanding what i have to do to get character a to be in scene_back_left_far position... any help is appreciated!
RenPy has a few built in ones, like 'at right' or 'at left', etc. The pack here gives you more of those prebaked options with the ability to tweak their y and x positions in the configuration.
In one of their examples:
show eileen happy at right
In short, you can add 'at scene_back_left_far' to the end of a line where you show a sprite and it'll move them there.
This is an amazing pack, thank you! I will definitely be using this in my project! I have a question about the camera angles- Is there any way to easily change the speed of the camera movement? Or the exact positioning? Or how much its zoomed in or out? The back front and normal camera presets don't seem to change how it looks too much, unless I change between the two while the camera is moving. Thanks!
The easiest and recommended way is to use the accompanying configuration file to bulk change all of the speed. Most everything has some type of configuration setting in MVNStagePackConfig.rpy, including the distance, offsets for different directions(Useful for adjusting sprites up and down when they're too tall/too short for the defaults), the duration and time of effects. The parameters are well documented, or at the very least are named in ways that should inform their purpose.
As of this writing, Line 7 has the pedestal_duration for the Pedestal (down to up pan), Line 13 has the establish_duration for the Establishing (left to right pan), and all of the zooms if you leave their zoom time unchanged will use line 18: default_zoom_time. If you change these variables in the config, it will change the timing on all of their associated premade shots.
Another way that will give you more presets while keeping the originals, you can copy and paste the transforms out of the MVNStagePackCamera.rpy and make new ones in your own files to make your own shots. For example, starting at line 51:
This would keep all of the positional settings and just change the new timing to be 0.3 seconds vs the default 1.3 seconds.
Lets say you want to make fast versions of ALL of them, and you really don't want to go ham on having to edit each one of these 90 times.
In YOUR RPY file, try this:
define fast_zoom_time = 0.3
If you're using VSCode, you can copy all of the definitions and their transform instructions into YOUR RPY, then highlight the transform definitions ("transform zoom"), press Ctrl D to multi select lines, use your arrow keys to put the cusor in front of zoom, and just add "fast_" , then repeat this step for all of the default_ lines to replace them with "fast_".
.
Actually this was such an easy mass modification to do that, in the process of making sure I was giving you good instructions, I just.. Made it myself. Whoops. Anyway here's a 'Fast' version' Which you're welcome to copy paste and redefine in your own RPY. But I recommend you take a peek at the instructions I gave above since it'll let you make an infinite number of your own variations of your own camera shots using my preset package.
An easy and helpful modification would be to make a slow version of this. As a challenge for you or anyone else reading this, see if you can follow my above instructions to make a slow_ version of this. :D
Wow, dude thank you so much!! This is all super helpful info + thank you for all the extra code you gave me, you are a lifesaver!! I appreciate it so much! Have a great day!
← Return to asset pack
Comments
Log in with itch.io to leave a comment.
I can't seem to get any of the front or back positions to work for whatever reason - whenever I try using one the sprite I put in that position doesn't appear ingame. The medium depth ones do work though, so I don't know what's up with that. Using renpy ver 8.2.3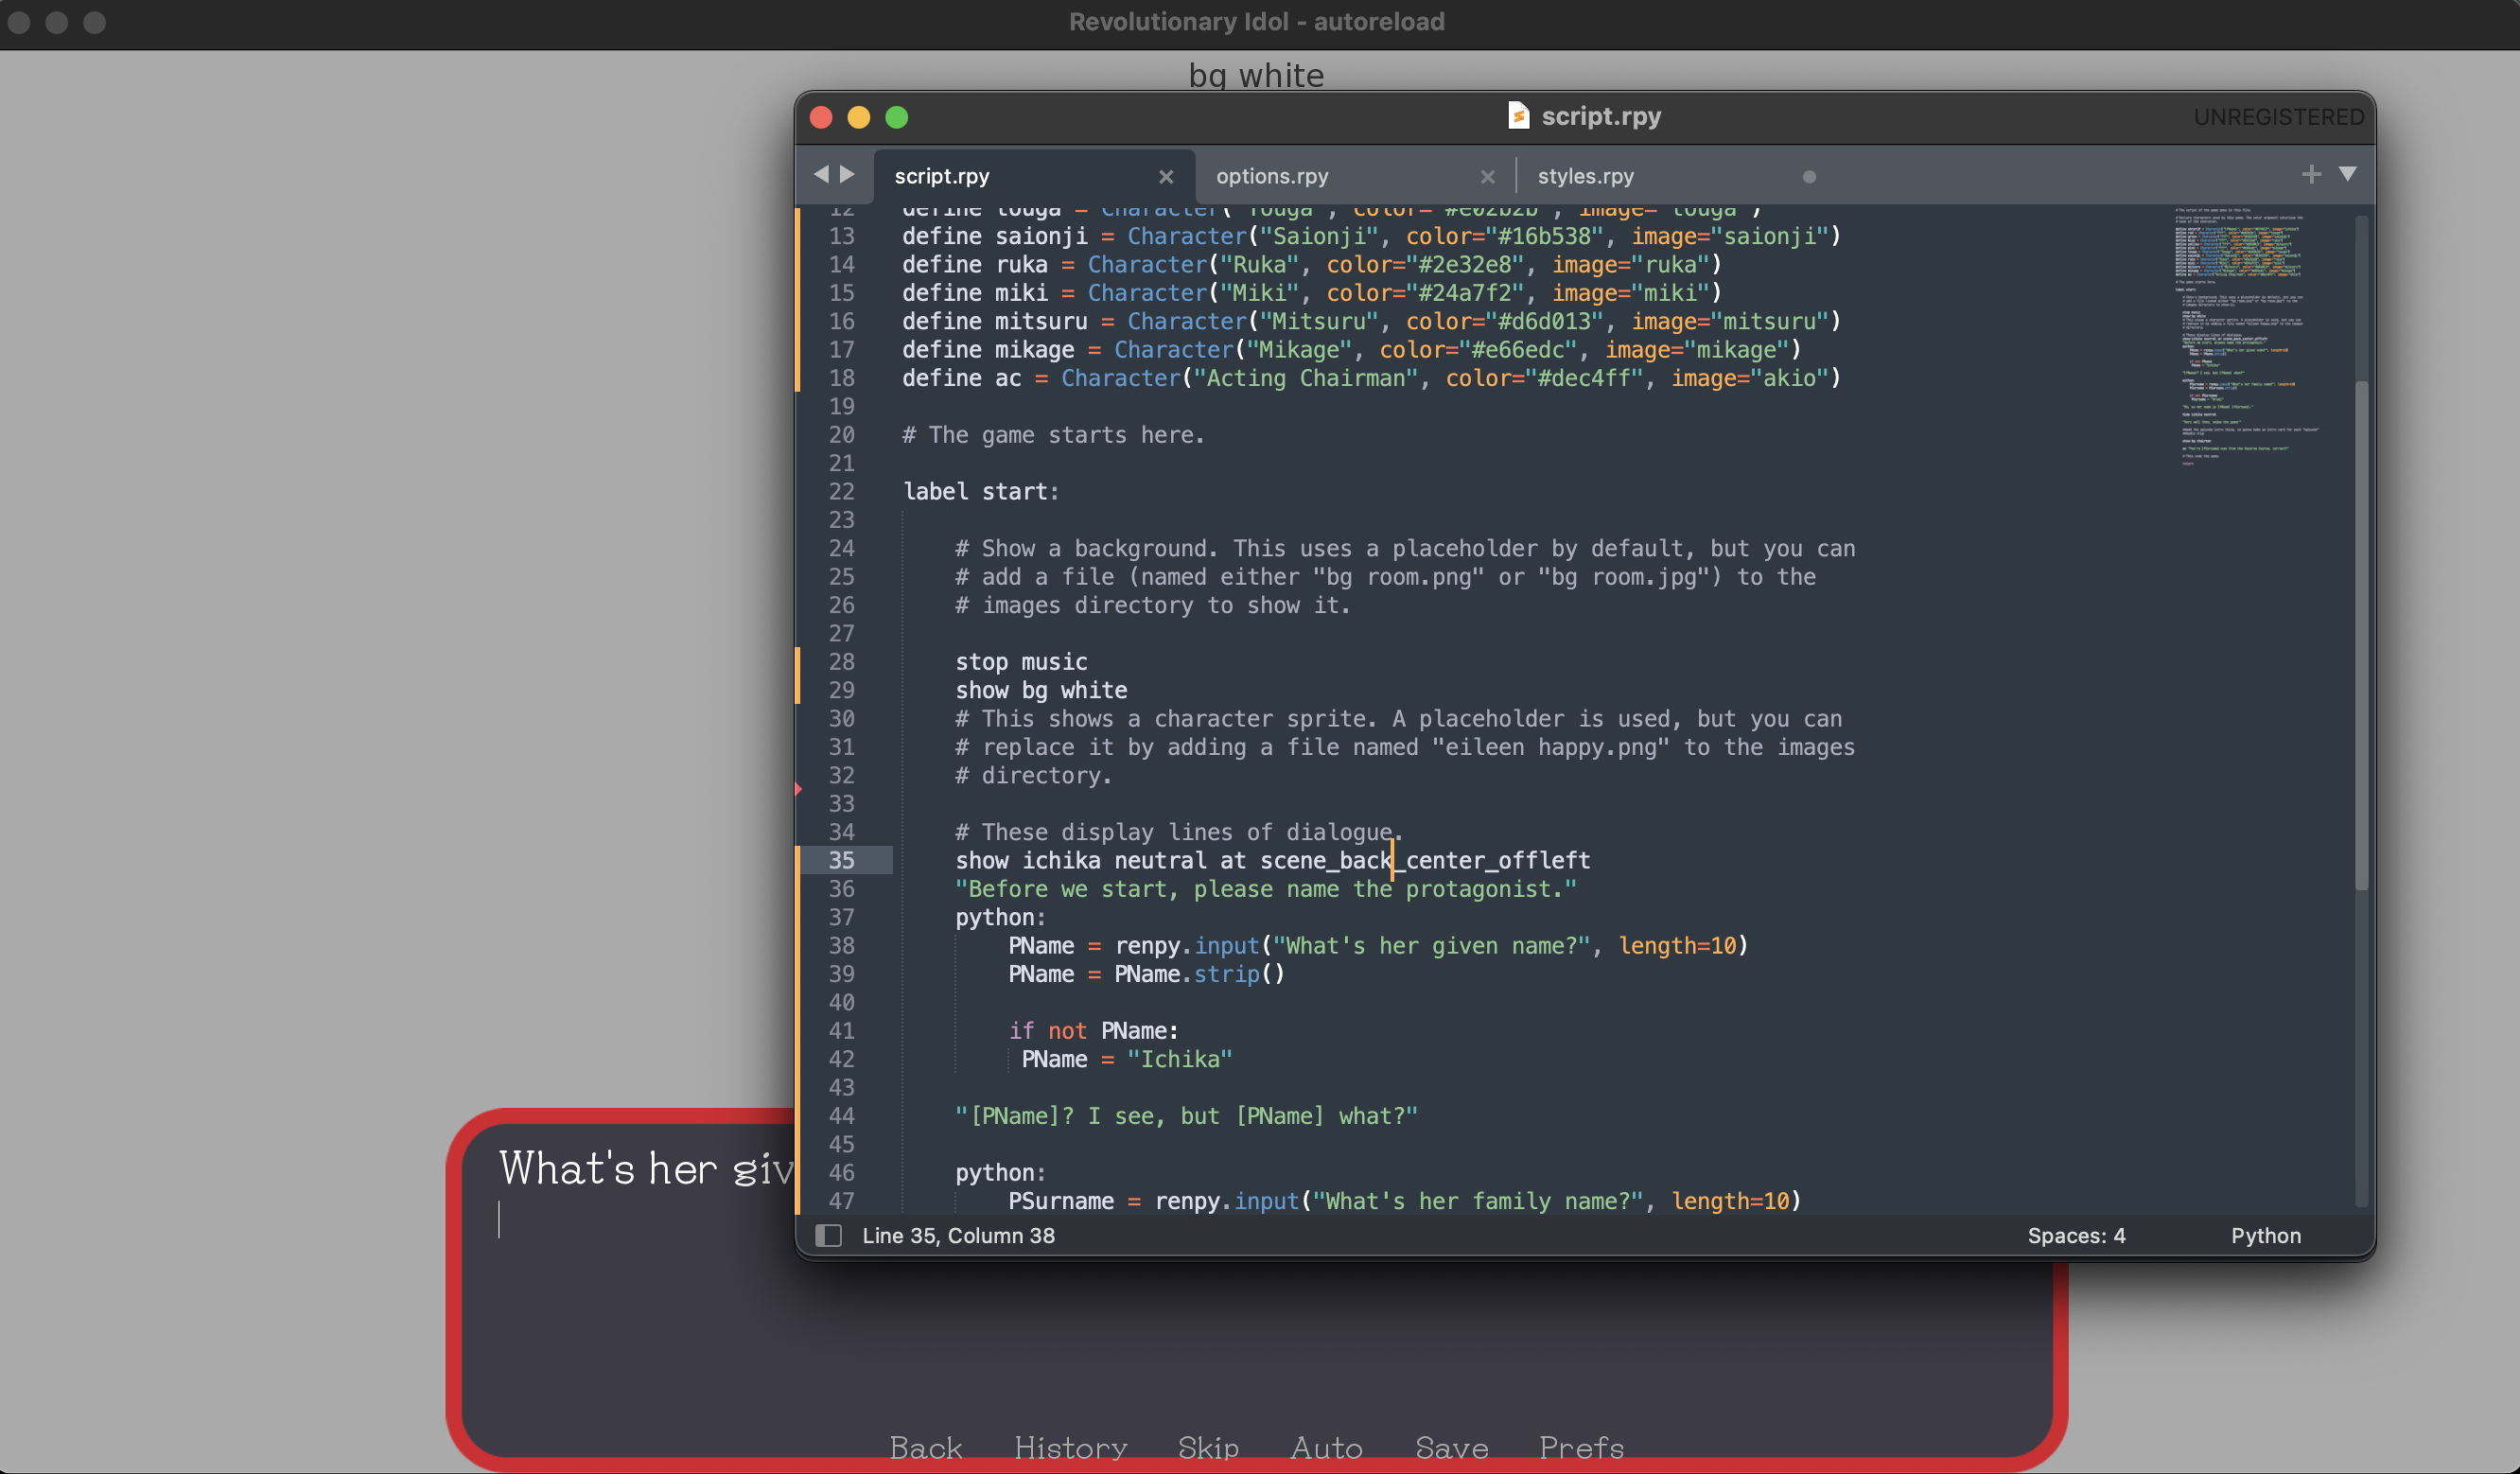 ^Test with back_center_offleft
Help would be appreciated, I have no clue why this is happening
Sure, I can help!
Try tossing this at the start of your scenes:
This will cause the camera (in reality, the master layer) to use perspective mode, which should straighten that out for you.
Here's the documentation if you want to read more up on it:
https://www.renpy.org/doc/html/3dstage.html#using-the-3d-stage
This works! Thanks :D
Thanks for the pack, looking forward to using it!
COOL
I'm still learning renpy and whatnot, so I'm not sure how to actually get the sprites to move to the stage spots. i did put the files in like told, but i'm not understanding what i have to do to get character a to be in scene_back_left_far position... any help is appreciated!
Hey there! Sorry about the delay. You'll want to check the RenPy documentation for how transforms work.
https://www.renpy.org/doc/html/transforms.html
RenPy has a few built in ones, like 'at right' or 'at left', etc. The pack here gives you more of those prebaked options with the ability to tweak their y and x positions in the configuration.
In one of their examples:
show eileen happy at right
In short, you can add 'at scene_back_left_far' to the end of a line where you show a sprite and it'll move them there.
It would then look like this:
show eileen happy at scene_back_left_far
Hope that helps!
This is an amazing pack, thank you! I will definitely be using this in my project!
I have a question about the camera angles-
Is there any way to easily change the speed of the camera movement? Or the exact positioning? Or how much its zoomed in or out? The back front and normal camera presets don't seem to change how it looks too much, unless I change between the two while the camera is moving.
Thanks!
You have a couple options for customizing them.
The easiest and recommended way is to use the accompanying configuration file to bulk change all of the speed. Most everything has some type of configuration setting in MVNStagePackConfig.rpy, including the distance, offsets for different directions(Useful for adjusting sprites up and down when they're too tall/too short for the defaults), the duration and time of effects. The parameters are well documented, or at the very least are named in ways that should inform their purpose.
As of this writing, Line 7 has the pedestal_duration for the Pedestal (down to up pan), Line 13 has the establish_duration for the Establishing (left to right pan), and all of the zooms if you leave their zoom time unchanged will use line 18: default_zoom_time. If you change these variables in the config, it will change the timing on all of their associated premade shots.
Another way that will give you more presets while keeping the originals, you can copy and paste the transforms out of the MVNStagePackCamera.rpy and make new ones in your own files to make your own shots. For example, starting at line 51:
transform zoom_front_right:
    perspective True
    parallel:
        ease default_zoom_time zpos -300 + zoom_front_zoffset
    parallel:
        ease default_zoom_time xpos 0.15 + zoom_front_xoffset
    parallel:
        ease default_zoom_time ypos 0.05 + zoom_front_yoffset
Lets say you like the original enough to want to keep it, you could customize this one like so to change some stuff around regarding the timing.
In your own RPY file, you could write something like this:
transform fast_zoom_front_right:
    perspective True
    parallel:
        ease 0.3 zpos -300 + zoom_front_zoffset
    parallel:
        ease 0.3 xpos 0.15 + zoom_front_xoffset
    parallel:
        ease 0.3 ypos 0.05 + zoom_front_yoffset
This would keep all of the positional settings and just change the new timing to be 0.3 seconds vs the default 1.3 seconds.
Lets say you want to make fast versions of ALL of them, and you really don't want to go ham on having to edit each one of these 90 times.
In YOUR RPY file, try this:
If you're using VSCode, you can copy all of the definitions and their transform instructions into YOUR RPY, then highlight the transform definitions ("transform zoom"), press Ctrl D to multi select lines, use your arrow keys to put the cusor in front of zoom, and just add "fast_" , then repeat this step for all of the default_ lines to replace them with "fast_".
.
Actually this was such an easy mass modification to do that, in the process of making sure I was giving you good instructions, I just.. Made it myself. Whoops. Anyway here's a 'Fast' version' Which you're welcome to copy paste and redefine in your own RPY. But I recommend you take a peek at the instructions I gave above since it'll let you make an infinite number of your own variations of your own camera shots using my preset package.
define fast_zoom_time = 0.3
transform fast_zoom_origin:
    perspective True
    parallel:
        ease fast_zoom_time zpos 0
    parallel:
        ease fast_zoom_time xpos 0
    parallel:
        ease fast_zoom_time ypos 0
transform fast_zoom_front_right:
    perspective True
    parallel:
        ease fast_zoom_time zpos -300 + zoom_front_zoffset
    parallel:
        ease fast_zoom_time xpos 0.15 + zoom_front_xoffset
    parallel:
        ease fast_zoom_time ypos 0.05 + zoom_front_yoffset
transform fast_zoom_front_left:
    perspective True
    parallel:
        ease fast_zoom_time zpos -300 + zoom_front_zoffset
    parallel:
        ease fast_zoom_time xpos -0.15 - zoom_front_xoffset
    parallel:
        ease fast_zoom_time ypos 0.05 + zoom_front_yoffset
transform fast_zoom_front_center:
    perspective True
    parallel:
        ease fast_zoom_time zpos -300 + zoom_front_zoffset
    parallel:
        ease fast_zoom_time xpos 0.0
    parallel:
        ease fast_zoom_time ypos 0.05 + zoom_front_yoffset
transform fast_zoom_back_right:
    perspective True
    parallel:
        ease fast_zoom_time zpos -500 + zoom_back_zoffset
    parallel:
        ease fast_zoom_time xpos 0.25 + zoom_back_xoffset
    parallel:
        ease fast_zoom_time ypos -0.10 + zoom_back_yoffset
transform fast_zoom_back_left:
    perspective True
    parallel:
        ease fast_zoom_time zpos -500 + zoom_back_zoffset
    parallel:
        ease fast_zoom_time xpos -0.25 - zoom_back_xoffset
    parallel:
        ease fast_zoom_time ypos -0.10 + zoom_back_yoffset
transform fast_zoom_back_center:
    perspective True
    parallel:
        ease fast_zoom_time zpos -500 + zoom_back_zoffset
    parallel:
        ease fast_zoom_time xpos 0.0
    parallel:
        ease fast_zoom_time ypos -0.10 + zoom_back_yoffset
transform fast_zoom_right:
    perspective True
    parallel:
        ease fast_zoom_time zpos -450 + zoom_mid_zoffset
    parallel:
        ease fast_zoom_time xpos 0.25 + zoom_mid_xoffset
    parallel:
        ease fast_zoom_time ypos -0.10 + zoom_mid_yoffset
transform fast_zoom_left:
    perspective True
    parallel:
        ease fast_zoom_time zpos -450 + zoom_mid_zoffset
    parallel:
        ease fast_zoom_time xpos -0.25 - zoom_mid_xoffset
    parallel:
        ease fast_zoom_time ypos -0.10 + zoom_mid_yoffset

transform fast_zoom_center:
    perspective True
    parallel:
        ease fast_zoom_time zpos -450 + zoom_mid_zoffset
    parallel:
        ease fast_zoom_time xpos 0.0
    parallel:
        ease fast_zoom_time ypos -0.10 + zoom_mid_yoffset
An easy and helpful modification would be to make a slow version of this. As a challenge for you or anyone else reading this, see if you can follow my above instructions to make a slow_ version of this. :D
Wow, dude thank you so much!! This is all super helpful info + thank you for all the extra code you gave me, you are a lifesaver!! I appreciate it so much! Have a great day!